Table of Contents
The Importance of Knee Strength for Hiking
Hiking is an exhilarating activity that allows you to connect with nature and get a great workout. But have you ever thought about the toll it takes on your knees? Your knees are like the shock absorbers of your body, and when you’re hiking, they’re in for a bumpy ride. Strengthening your knees is crucial for a smoother and pain-free hiking experience.
Imagine yourself on a trail, surrounded by the beauty of nature. The birds are singing, the leaves are rustling, and you feel alive! Now, imagine feeling a sharp pain in your knee. That’s not what you signed up for, right? This is why focusing on knee strength is so important. It ensures that your adventure doesn’t come to a grinding halt.
Knee strength is particularly important when hiking uphill or downhill. When you’re going uphill, your knees help push your body weight against gravity. When you’re going downhill, they work even harder to control your descent so you don’t tumble down.
Moreover, strong knees improve your endurance. This means you can hike longer and explore more without getting tired. It’s like having a superpower that allows you to go on and on!
Why Focus on Knee Exercises?
Focusing on knee exercises not only improves your hiking but also prevents injuries. Strong knees mean more stability and less strain on the joints. This is especially important if you are carrying a backpack, as the extra weight can put additional pressure on your knees.
Think of your knees as the foundation of a building. The stronger the foundation, the more resilient the building. Similarly, the stronger your knees, the more they can handle the stresses of hiking.
Additionally, knee exercises can improve your overall fitness levels. This means that not only your hiking adventures but your everyday life can become more vibrant and pain-free!
Understanding Your Knees
Anatomy of the Knee
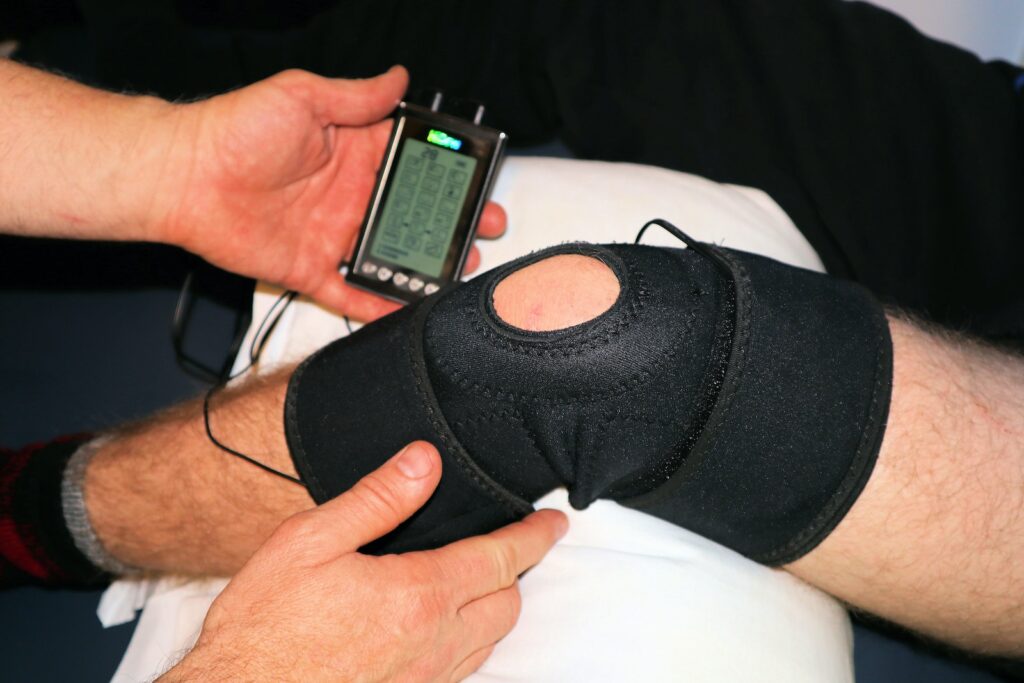
The knee is one of the most complex joints in the body. It’s essentially a hinge joint made up of bones, cartilage, ligaments, and tendons. Knowing a bit about the anatomy of your knee can help you understand which exercises will be most beneficial.
The knee joint is where the thigh bone (femur) meets the shinbone (tibia). The kneecap (patella) is the small bone in front of the joint. Tendons connect the knee bones to the leg muscles that move the knee joint. Ligaments join the knee bones and provide stability to the knee.
The cartilage in the knee acts as a cushion and gliding surface. When the knee moves, it’s the cartilage that allows the bones to glide smoothly against each other.
Common Knee Problems for Hikers
Hikers often experience knee pain, which can be due to various factors such as inadequate footwear, improper technique, or lack of conditioning. Common knee problems include patellar tendonitis, also known as “jumper’s knee”, and iliotibial band syndrome (ITBS).
Patellar tendonitis is an injury to the tendon connecting your kneecap to your shinbone. ITBS is an inflammation of the iliotibial band, a thick tendon that runs from the outer pelvis to the outside of the knee.

Preparing Your Knees for Hiking
Warm-Up Exercises
Before you start with knee-strengthening exercises, it’s essential to warm up. Warming up increases blood flow to the muscles, which can prevent injuries. Some good warm-up exercises include jogging in place or doing jumping jacks.
But let’s dive deeper into why warming up is so essential. When you warm up, you’re literally warming your body. This increases your muscle temperature,making the muscles more flexible and efficient. It’s like warming up your car in the winter; it just runs smoother!
Warming up also prepares your heart for an increase in activity, preventing a rapid increase in blood pressure. It’s a way of telling your body, “Hey, we’re about to get moving; let’s get ready!”
Now, let’s talk about some warm-up exercises. Jogging in place is a simple but effective way to get your blood flowing. But why stop there? Throw in some high knees or butt kicks for variety.
Jumping jacks are another excellent warm-up exercise. They get your heart rate up and engage various muscle groups. If you’re feeling adventurous, try some dynamic stretches like leg swings or arm circles.
Remember, the goal here is to get your body ready for what’s to come. So, keep it light and save the heavy lifting for the workout!

Stretching
After warming up, it’s important to stretch. Stretching increases flexibility, which is crucial for preventing injuries. Some effective stretches for the knees include hamstring stretches and calf stretches.
Stretching is like the calm before the storm. It prepares your body for the intense workout that is about to follow. When it comes to hiking, your legs are your vehicle, and just like you wouldn’t want to drive a car with stiff gears, you don’t want to hike with stiff muscles.
Hamstring Stretches
Hamstrings are the muscles at the back of your thigh. To stretch them, sit on the ground with both legs stretched out in front of you. Bend one knee and place the sole of that foot against the inner thigh of your straight leg. Lean forward from your hips and try to touch the toes of your straight leg. Hold for 30 seconds and switch sides.
Calf Stretches
For calf stretches, stand facing a wall. Place your hands on the wall for support. Move one leg a step back, keeping it straight, and press the heel into the floor. Bend the front knee until you feel a stretch in the back leg. Hold for 30 seconds and switch legs.
Quadriceps Stretches
Quadriceps are the muscles in front of your thighs. To stretch them, stand on one leg. If you need to, hold onto something for balance. Grab the ankle of your other leg and pull it towards your buttock. Hold for 30 seconds and switch legs.
Iliotibial Band (ITB) Stretch
The ITB is a band of tissue that runs along the side of your thigh. To stretch it, cross your right leg behind your left leg. Lean to the left side while pushing your right hip outwards. Hold for 30 seconds and switch sides.

Balance and Stability Exercises
When it comes to hiking, balance and stability are as important as strength. The trails often have uneven surfaces and require a good sense of balance to navigate safely. Here are some exercises that can help improve your balance and stability for hiking.
Single-Leg Deadlifts
This exercise not only works on your balance but also strengthens the muscles around your knees and hips, which are crucial for hiking.
How to do it:
- Stand on one leg.
- Keep your back straight, bend at the hip, and extend your free leg behind you for balance.
- Lower your upper body until it’s parallel with the ground and then slowly return to the starting position.
- Do 10-15 repetitions on each leg.
Pro tip: Keep your eyes focused on one spot on the floor to help maintain balance.
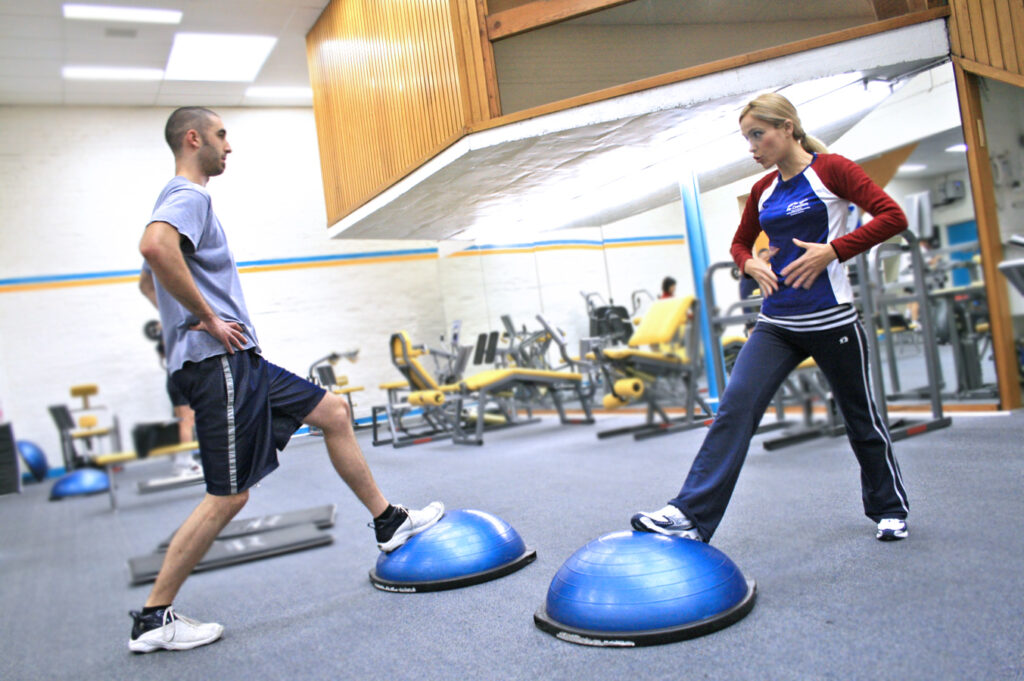
Bosu Ball Exercises
A Bosu ball is an excellent tool for improving your balance and stability.
How to do it:
- Stand on the Bosu ball with one foot in the center.
- Slowly squat down as you maintain your balance, then rise back up.
- Repeat 10-15 times on each leg.
Pro tip: Try doing small jumps on the Bosu ball to further challenge your balance.
Additional Exercises
- Side Leg Raises: Stand with your feet together. Slowly lift one leg to the side and lower it back down. This exercise helps strengthen the hip abductors which are essential for lateral stability.
- Heel-to-Toe Walk: Walk in a straight line, placing your heel directly in front of the toes of your opposite foot each time you take a step. This exercise is excellent for improving balance.
Endurance Training for Hiking
Endurance is vital for long hikes. It’s not just your legs that need to endure the distance – your cardiovascular system also needs to be up for the challenge.
- Running: It’s a classic endurance builder. It’s especially good if you can find trails to run on as it more closely mimics the hiking experience.
- Cycling: This is easier on the joints than running and also builds endurance. Whether on a stationary bike or out on the trails, cycling is an excellent way to build your endurance for hiking.
- Swimming: This full-body workout is not only great for building endurance but also for building strength.
- Interval Training: Mix short bursts of high-intensity exercise with periods of rest or lower-intensity exercise. This is especially good for preparing for the varied terrains of hiking trails.

Incorporating Knee Exercises into Your Routine
Consistency is key in seeing results from knee exercises. However, it’s also important not to overdo it as this can lead to injuries.
- Start Slowly: Especially if you are not used to exercising regularly.
- Create a Schedule: Plan your exercise routine in advance.
- Mix It Up: Don’t do the same exercises every day. This can lead to overuse injuries.
- Listen to Your Body: If you are feeling pain (not to be confused with the normal discomfort of working out) then it’s time to take a break.
Tips for Safe Exercising
- Proper Form: Make sure you are doing exercises correctly to avoid injury.
- Proper Gear: Wear supportive shoes.
- Stay Hydrated: Bring water with you while exercising.
- Warm-Up and Cool Down: This is crucial in preventing injury.
Conclusion
Hiking is an incredibly rewarding activity. The fresh air, the sense of accomplishment, and the beautiful views are hard to beat. However, it’s important to prepare your body for the challenges that hikingpresents. By incorporating balance and stability exercises, focusing on endurance training, and consistently including knee exercises in your routine, you can greatly improve your hiking experience. Remember to exercise safely, listen to your body, and equip yourself with the proper gear. Happy trails!
FAQs
- How often should I do balance and stability exercises for hiking?
- Balance and stability exercises can be done 3-4 times a week. It’s important to give your muscles time to recover.
- What are some signs that I might be overdoing it with my exercises?
- If you experience pain, excessive fatigue, or decreased performance, these might be signs that you are overdoing it.
- How long does it take to see improvements in balance and stability?
- Generally, you might start to see improvements in your balance and stability after a few weeks of consistent training.
- What can I do if I find the exercises too challenging?
- It’s important to start at your own level. If an exercise is too challenging, try a modified version or reduce the number of repetitions.
- How can I stay motivated to continue with my exercise routine?
- Setting goals, tracking your progress, and having a workout buddy are great ways to stay motivated.

